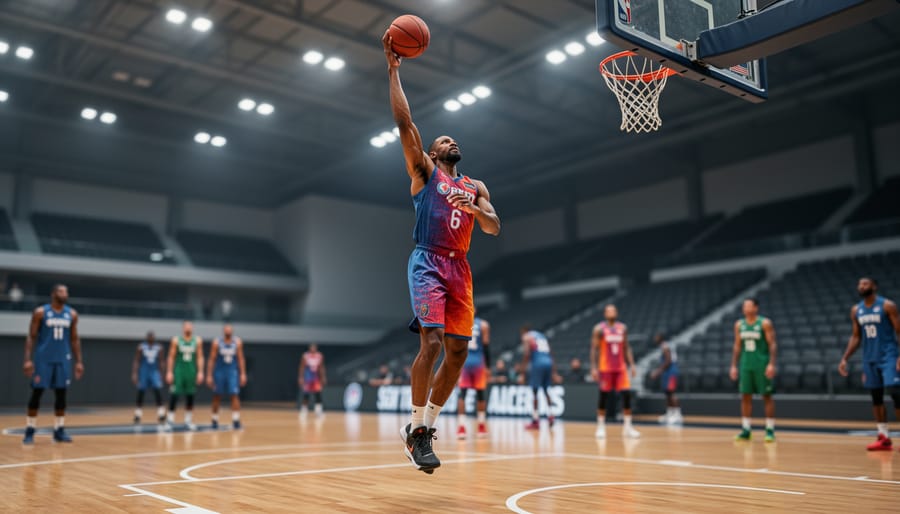
Improving shooting accuracy in basketball requires a structured progression of drills that move from foundational mechanics to game-speed repetitions under pressure. The most effective shooting programs, including trusted Canadian clinics like those run by Coach Dave Love and systematic D1-level workouts, break down shooting into discrete components (hand placement, base, release, follow-through) before rebuilding the motion through increasingly complex drills. Players typically need 60 to 90 minutes per session, three to four times weekly, to see measurable improvement over a 6-8 week cycle.
The science behind effective shooting development is simple: grooved motor patterns require thousands of correct repetitions. Programs that deliver results don’t rely on random gym time. They follow a clear framework that starts with close-range form shooting to establish muscle memory, progresses through catch-and-shoot drills at game spots, adds off-the-dribble work to simulate real offensive moves, and culminates in competitive scenarios that replicate the mental and physical demands of live play. This is the same progression used at facilities across Canada, from community basketball courts to elite training centers.
Players and coaches searching for shooting drills often skip the critical first step: verification of proper mechanics before volume work begins. Shooting 500 repetitions with flawed form doesn’t build skill; it ingrains bad habits. The drill sequence outlined here addresses this by incorporating ongoing verification checkpoints, matching the approach used in structured clinics like the Nike Basketball Clinic Markham for players aged 9-17 and the Rush Basketball shooting clinic framework. Whether you’re a facility operator designing training programs, a municipal recreation coordinator planning youth basketball sessions, or an athlete looking to structure your own development, this guide provides a complete, clinic-tested framework you can implement immediately.
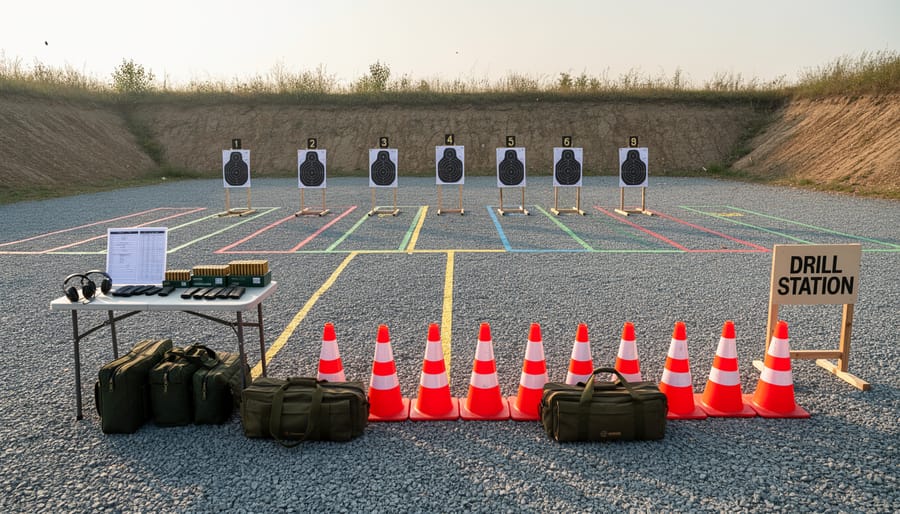
Running effective shooting drills demands surprisingly little in the way of basketball equipment. The essentials boil down to court space, basketballs, and committed players. You’ll need at least a half-court area with a regulation basket, though a full court allows for more varied movement patterns and conditioning elements. For individual practice, one ball is enough. Group sessions work best with one ball per two or three players to maintain rhythm without excessive downtime waiting for rebounds.
A coach or partner multiplies the value of every session. They provide real-time feedback on hand placement and release mechanics, rebound to keep reps flowing, and deliver passes that simulate game situations. Programs run by coaches like Dave Love across Canada emphasize this structured feedback loop, where each repetition gets evaluated and adjusted. If you’re training alone, you’ll spend more time chasing rebounds, but the fundamentals still apply.
Optional tools can enhance sessions without being necessary. Floor markers or cones help players hit specific shooting spots consistently, which is critical for range-building progressions. A timer adds accountability and mirrors the pressured environments used in clinics that rebuild shooting into game-speed reps. Shooting aids like guide straps can reinforce proper hand positioning during early form work, though they shouldn’t replace focused repetition. When setting up your training environment, consider how choose a backboard decisions affect shot feedback, and ensure your court sports equipment supports safe, distraction-free repetition. The key is structured repetition with technical precision, not an arsenal of gear.
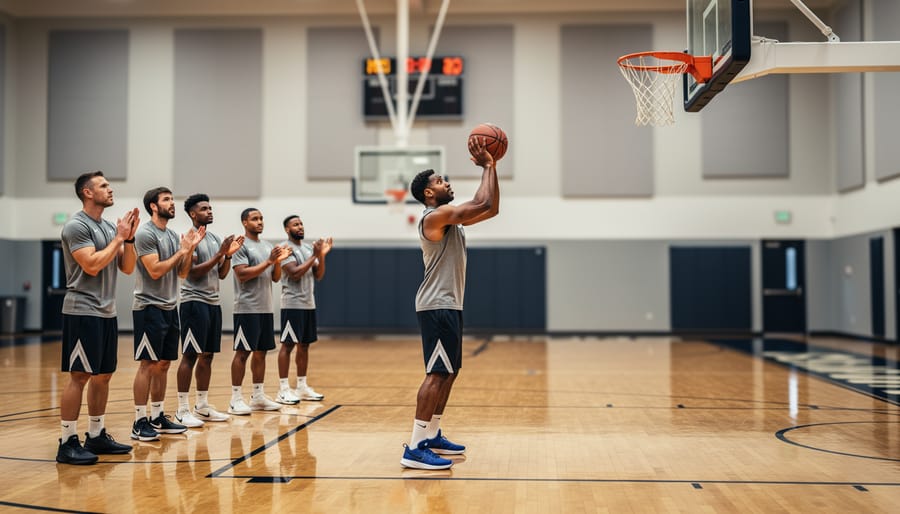
Before you begin any shooting drill session, set up your practice environment to protect players and maximize productive reps. Proper spacing is critical during movement drills, mark clear shooting lanes and designate rebounding zones to prevent collisions when multiple players are working simultaneously. If you’re running drills indoors on hard surfaces, ensure the court is dry and free of debris, and consider gym mats in high-traffic rebounding areas where players frequently land after jump shots.
Always start with a thorough warm-up focused on the shoulders, wrists, and shooting arm. Dynamic stretches, arm circles, and light form shooting from close range prepare the shooting motion’s specific muscle groups. Research confirms that warm-ups reduce injury risk particularly for repetitive overhead movements like shooting. Schedule hydration breaks every 15-20 minutes during intensive sessions, shooting drills demand sustained focus and physical output, and dehydration degrades both accuracy and decision-making.
For younger players aged 9-17, the approach used in programs like Nike Basketball Clinic Markham emphasizes starting with controlled, lower-intensity drills before advancing to game-speed work. This progression protects developing joints and builds proper mechanics before adding pressure or conditioning elements. Begin every session with stationary form shooting regardless of age or skill level, then gradually layer in movement, speed, and defensive simulation as technique remains consistent.
Stand five feet from the basket with both feet pointing at the rim. This distance removes variables, power, arc adjustment, defensive pressure, and lets you isolate what matters most: the mechanics that will anchor every shot you take for the rest of your playing career.
Form shooting drills at close range build the muscle memory foundation that holds up under fatigue, defenders, and game pressure. Most players rush to the three-point line before their shooting pocket, elbow path, and follow-through are consistent. Clinics that systematically rebuild shooting technique start here, breaking down hand placement, base, release, and follow-through before adding complexity.
Your shooting hand should sit under the ball with fingers spread comfortably, not rigid, not limp. The seams of the basketball should rest across your fingertips and palm pad, never touching the flat of your palm. Your off-hand sits on the side of the ball as a guide only; it stabilizes but does not push. Check that your elbow aligns under the ball, not flared out, creating a straight vertical path from pocket to release.
Before you shoot 50, 100, or 200 reps, verify each checkpoint:
Shoot 25 reps, walk to the other side of the basket, shoot 25 more. Focus entirely on replicating the same motion, identical hand position, same elbow path, same wrist snap. Speed does not matter yet. Neither does making or missing; you are programming a movement pattern. If your form breaks down after 10 shots, rest and reset rather than reinforcing bad habits.
This close-range repetition mirrors the foundational work used in structured shooting clinics, where coaches verify each checkpoint before allowing players to step back. Consistency at five feet translates to consistency at 25 feet once you add the required power adjustments in the next phase.
Once your form is consistent at close range, extend backward in controlled stages rather than jumping straight to three-point attempts. Move to mid-range spots first, elbows, free-throw line, wing positions, before reaching the arc. At each new distance, take 10-15 shots and confirm you’re maintaining the same hand placement, elbow alignment and follow-through established in Step 1. The only adjustments should be increased leg drive and a slightly higher release arc to generate the power needed for longer shots.
A proven method for systematic range building is the 7-Spot ‘Huie’ Basketball Shooting Drill from PGC, which stations you at seven key floor locations: baseline corners, wings, top of the key, and both elbows. Shoot a set number of makes (commonly five) from each spot before rotating to the next. This drill ensures you develop accuracy across the entire offensive floor, not just from your comfortable zones. Track your makes per spot to identify weak areas that need extra repetition.
As you extend range, watch for form breakdown. Common errors include dropping your elbow to generate power, leaning back instead of using your legs, or rushing the release. If accuracy drops below 40 percent at a new distance, return to the previous spot for another session before progressing. The goal is not speed, it’s building a repeatable shot from every relevant game distance through disciplined, incremental work.
Once you’ve built solid form and extended your range, the next critical phase is learning to shoot immediately upon receiving the pass. This is where isolated practice meets game reality, most shots in a game come after catching the ball, not from a standstill with unlimited time to set your feet.
Start by positioning a passer or rebounder about ten to fifteen feet away. Your focus shifts from mechanics alone to the transition: receiving the ball already in shooting-ready position. As the pass comes, your hands should be up, target presented, with knees slightly bent and weight on the balls of your feet. This ready position eliminates wasted motion and shaves crucial split-seconds off your release time.
Footwork becomes paramount here. When catching on the wing, step into the shot with your inside foot forward, the foot closest to the baseline, which naturally squares your shoulders to the basket and maintains shooting alignment. Practice the rhythm: catch, quick hop to align your feet if needed, and immediate release. The entire sequence should feel fluid, not mechanical or rushed.
Run sets from multiple spots: both wings, the top of the key, and the corners. Aim for ten to fifteen quality reps per location, prioritizing clean catches and consistent form over speed initially. As comfort builds, compress the catch-to-release time. This drill type appears in virtually every D1-level shooting workout because it directly mirrors how shooters score, receiving passes in rhythm, feet ready, and releasing with confidence before the defense closes out.
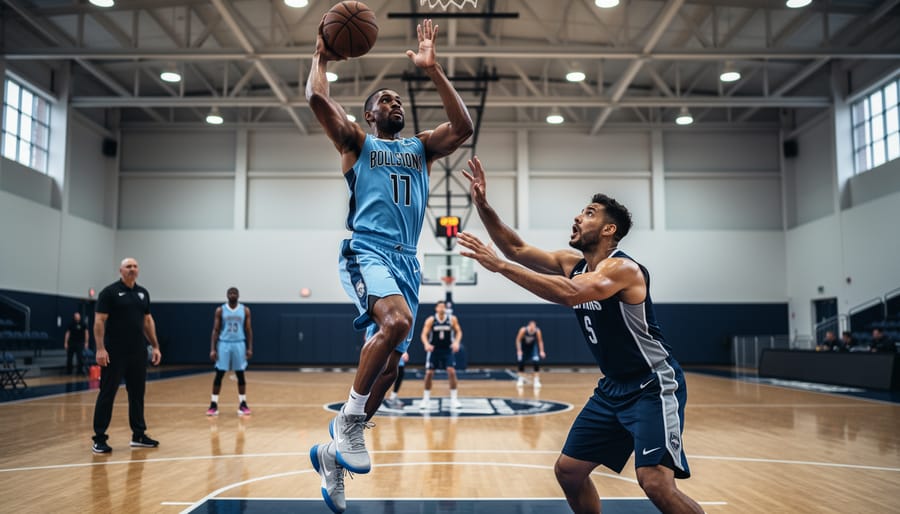
Off-the-dribble shooting separates average scorers from game-changers. Most defenders can contest a standstill shot, but adding a dribble move creates the split-second separation needed for a clean look. This step teaches you to maintain shooting form while your body shifts laterally or decelerates from movement.
Start with one-dribble pull-ups from the wing. Take a hard dribble with your strong hand toward the basket, plant your inside foot, and gather the ball into your shooting pocket as your feet come together. The key is a controlled gather, your hands should meet the ball at chest height, not down by your hip. This mirrors the D1-level shooting workout structure where off-the-dribble work builds on the catch-and-shoot foundation you established in Step 3.
Progress to step-back jumpers by attacking toward the basket for two dribbles, then pushing back off your lead foot to create space. Land in a balanced shooting stance with your shoulders square to the rim. Crossover pull-ups add another layer: dribble hard with your right hand, cross to your left, then plant and shoot. The crossover forces you to reorient your body mid-move, making balance and pocket position even more critical.
Common breakdown points include drifting sideways during the release or dropping the ball too low on the gather. If your percentages drop significantly from catch-and-shoot, slow the dribble speed and focus on a compact, controlled gather before adding power back into the move.
Game situations rarely offer the luxury of a stationary shot. Defenders close out, teammates set screens, and you’re constantly cutting and repositioning. Step 5 bridges the gap between controlled shooting and real gameplay by forcing you to execute proper form while your body is in motion.
Start with flare cuts to the wing. Sprint from the paint toward the three-point line as if running off a screen, then plant your inside foot and square your shoulders to the basket in one motion. Your feet should land in shooting position, balanced, shoulder-width apart, knees slightly bent, before the ball arrives. The drill trains you to control momentum and transfer it into your shot rather than fighting against it.
Curl cuts to the elbow replicate coming off a screen for a mid-range jumper. Begin at the baseline, sprint around an imaginary screen at the free-throw line, and receive a pass at the elbow. Focus on catching the ball in your shooting pocket while your feet are already set. This eliminates wasted motion and speeds up your release against closing defenders.
V-cuts teach spacing and timing. Start at the wing, take two hard steps toward the basket as if you’re cutting, then plant and explode back to the three-point line. Catch and shoot immediately. The direction change creates separation, but only if you land ready to shoot.
Run each drill for two minutes, tracking makes and misses. Quality repetition here builds the muscle memory to shoot accurately when fatigued and off-balance, exactly what game speed demands.
Game scenarios don’t wait for perfect conditions, your legs are heavy, the clock is ticking, and a defender is closing out. This final step bridges the gap between controlled practice and the chaos of real competition by layering pressure onto your established mechanics. You’ll introduce time constraints that force quick decisions, conditioning elements that replicate late-game fatigue, and competitive scoring targets that sharpen focus under stress.
Start with timed shooting drills like the One-Minute 3-Point Basketball Shooting Drill from PGC, where players rotate through designated spots attempting as many quality makes as possible within sixty seconds. The time pressure forces rhythm shooting without sacrificing form, you can’t overthink mechanics when the clock is running. Track your makes each round and set progressive goals: if you hit seven shots in week one, aim for eight or nine by week three.
Add conditioning layers by shooting immediately after defensive slides, full-court sprints, or suicide runs. This simulates the physical fatigue of taking a fourth-quarter shot after working hard on both ends. Advanced players should incorporate closeout simulations: have a partner sprint toward you from ten feet away as you catch and shoot, forcing you to gather quickly and rise into your shot despite pressure. For team settings, run competitive drills where groups compete for highest shooting percentage within a set time, or play games like “Around the World” with consequences for misses, pushups or sprints keep stakes high.
When organizing intensive shooting sessions, efficient court management matters. Keep extra basketballs accessible and rotation smooth; storage hacks help maintain session flow when multiple groups cycle through stations. This step transforms hundreds of controlled repetitions into reliable game-time performance, where accuracy holds up under defensive pressure and physical exhaustion.
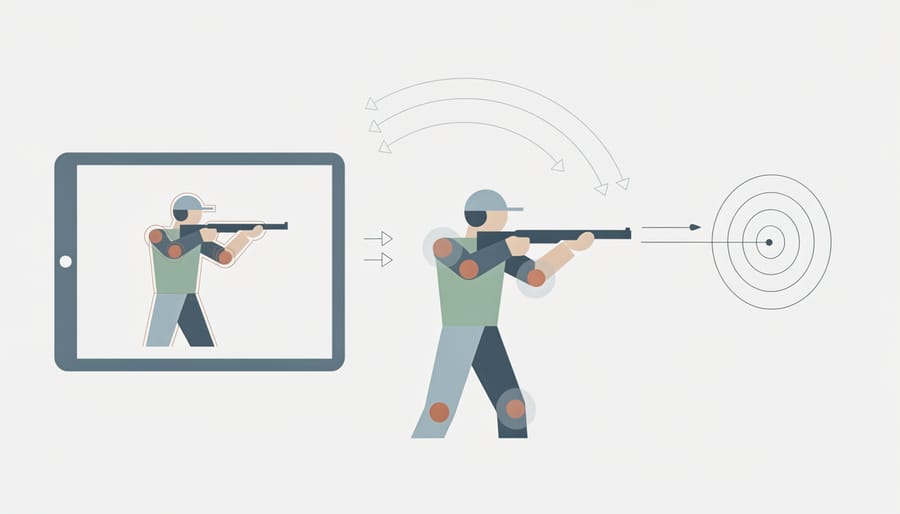
Tracking your shooting development requires consistent measurement across three key areas: accuracy, form retention, and performance under pressure. Start by recording make percentages from specific zones, close range (3-5 feet), mid-range spots, and three-point locations, during each practice session. Test yourself in sets of ten shots from each zone, noting both your percentage and which misses were short, long, left, or right. This data reveals patterns: if your three-point accuracy drops significantly while mid-range stays consistent, you’re likely rushing your base or altering your release angle at distance.
Form consistency under fatigue is equally critical. Film yourself shooting after conditioning work or late in practice sessions when your legs tire. Compare this footage to your fresh form shooting, watch for shorter follow-throughs, dropped elbows, or balance issues that emerge when you’re winded. These breakdown points show where your technique needs reinforcement. If your shooting pocket shifts or your release speeds up under pressure, dedicate two sessions to isolated form work before returning to advanced drills.
High school players following D1-level programs typically commit to 60-minute focused shooting sessions three to four times weekly, separate from team practice. This frequency allows for meaningful repetition without overuse fatigue. If your percentages plateau or decline across two consecutive weeks, scale back to earlier progression steps. Regressing to form shooting or catch-and-shoot work isn’t failure, it’s how clinics systematically rebuild technique when players hit performance walls.
Video review provides objective feedback that self-assessment misses. Record your shooting from multiple angles and watch without sound, focusing solely on mechanics. Better yet, seek structured feedback from experienced coaches who can identify subtle flaws in your base, hand placement, or release timing before they become ingrained habits.
How often you practice shooting drills matters more than the total hours you accumulate. High school players aiming for competitive levels typically dedicate three to five focused shooting sessions per week, while recreational players see meaningful improvement with two to three sessions. Youth players in the 9-13 age range benefit from shorter, more frequent sessions, three 30-minute blocks yield better results than one exhausting 90-minute marathon that degrades form and attention.
Session length depends on intensity and structure. The D1-level model uses 60-minute blocks that systematically progress through form work, range extension, movement shooting, and pressure reps. This duration allows enough volume for skill development without inducing the fatigue that causes technique breakdown. Clinics like those run by Coach Dave Love follow similar timeframes, breaking the hour into focused segments rather than unstructured shooting. Younger players (9-12 years old) should cap sessions at 30-45 minutes to maintain focus and prevent overuse injuries.
High school players in structured programs often take 200-300 shots in a 60-minute session, split across form work, catch-and-shoot reps, and game-speed drills. Younger players need fewer total attempts but should prioritize quality over volume, 100-150 shots with proper form beats 300 rushed, inconsistent reps.
Both approaches have value. Solo work develops mental toughness and self-correction, while partner drills add realistic passing angles, immediate feedback, and competitive pressure. Alternating between the two builds well-rounded skills.
Players aged 9-13 need an 80/20 split favoring fundamentals, most reps should emphasize form, balance, and consistent release from manageable distances. As players reach 14-17 and demonstrate consistent technique, shift gradually to 60/40, then 50/50 as game-speed accuracy improves.
Team shooting drills differ from individual work in purpose and structure. Individual sessions isolate personal technique issues and allow unlimited reps from preferred spots. Team drills emphasize timing, spacing, reading teammates, and shooting under the pressure of group accountability. Programs like Rush Basketball use team formats to simulate game rhythm, players rotate through stations, compete for makes within time limits, and practice shooting after realistic cuts and screens. The structured environment pushes players beyond their self-directed comfort zones while building habits that transfer directly to competitive games.
Consistent shooting accuracy is not about talent or luck, it is the result of systematic drill progression that breaks down fundamentals and rebuilds them at game speed. The six-step framework outlined in this guide mirrors the methods used by trusted programs across Canada, including clinics run by coaches like Dave Love, who have helped thousands of players develop reliable shooting mechanics. Whether you are practicing alone, running team sessions, or attending structured clinics, the approach remains the same: master form first, extend range gradually, and progressively add movement and pressure until your shots hold up in competition.
Start with close-range form work regardless of your current skill level. Even advanced players benefit from returning to foundational drills when accuracy slips. Commit to structured repetition, high-volume practice with proper technique builds the muscle memory that translates to game situations. For players seeking intensive development, expert coaching at specialized shooting clinics provides the systematic feedback and accountability that accelerate progress.
Integrate these basketball training shooting drills into your regular routine. Dedicate focused 60-minute sessions to shooting work, track your percentages from different zones, and adjust your training based on what the numbers reveal. Consistency in practice creates consistency on the court.